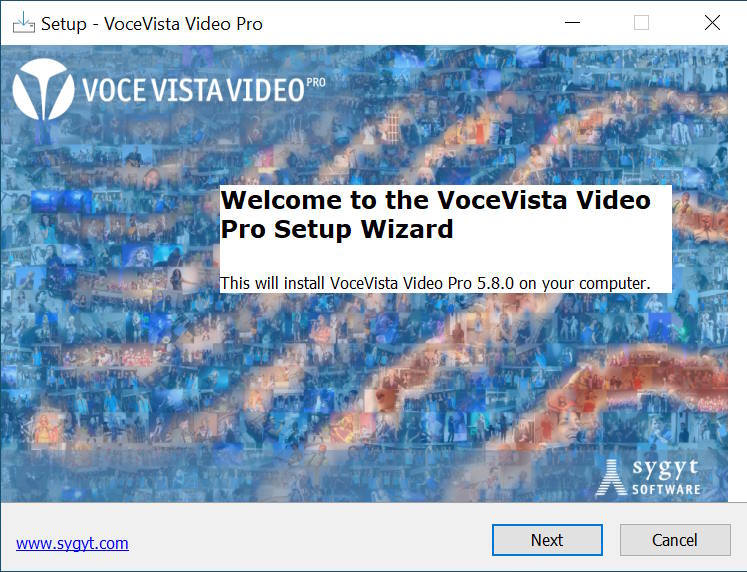
Installation
This section explains the minimum system requirements that you need to install and use VoceVista.
Operating System
- macOS
-
VoceVista for macOS requires macOS 11 or later. It works on both Intel and Apple Silicon chips.
- Windows
-
VoceVista for Windows requires Microsoft Windows 10 or later. It also works on Windows 11.
If you have an older computer which doesn’t run the required OS version, you can download an older version of VoceVista that works with your sytem at https://www.vocevista.com/en/download-old/.
Computer
Most modern computers can run VoceVista without any problems, but a faster machine with more memory and hard-drive space will run the program more smoothly. Some lower-end models have slower graphics cards, which may result in poor performance and lower image quality when rendering spectrograms.
Mouse
Although not essential, an external mouse with a scroll wheel can be helpful for using the program. If you use a laptop, you can use two-finger gestures on your touchpad for zooming in and out of the frequency and time range.
Zooming and scrolling can also be done with the 1 and 2 keys on your keyboard. When the mouse pointer is pointing at a scale or at the spectrogram, try tapping the 1 or 2 key to see what happens.
Microphone
To get started, the internal microphone of your computer is totally fine. If you want something better, get a USB microphone. The models from Samson are good for beginners and are inexpensive. For even better sound quality get an external USB audio interface together with a professional condenser microphone.
Another interesting option is a mobile recorder that can be used as a USB audio interface. These devices can provide excellent performance for their price category when used as a microphone and have the added benefit of being a stand-alone mobile recorder that is always at hand.
Position the microphone as far away from the computer as possible to minimize the pick up of noise from the computer, or get a silent computer. Be aware that many monitors also emit some sound, especially at lower brightness levels. Most of these ambient noises can be seen in the recording and should be avoided as much as possible.
Installation
You can download the latest version of the software on our download page. Clicking on the download button will download the installer file to your computer. If you cannot find it, open a file browser and locate your "Downloads" folder, where the VoceVista installer should be the newest item. Double-click on it to open it.
macOS
On macOS, once you have downloaded and opened the installer file, you will see a window like this:
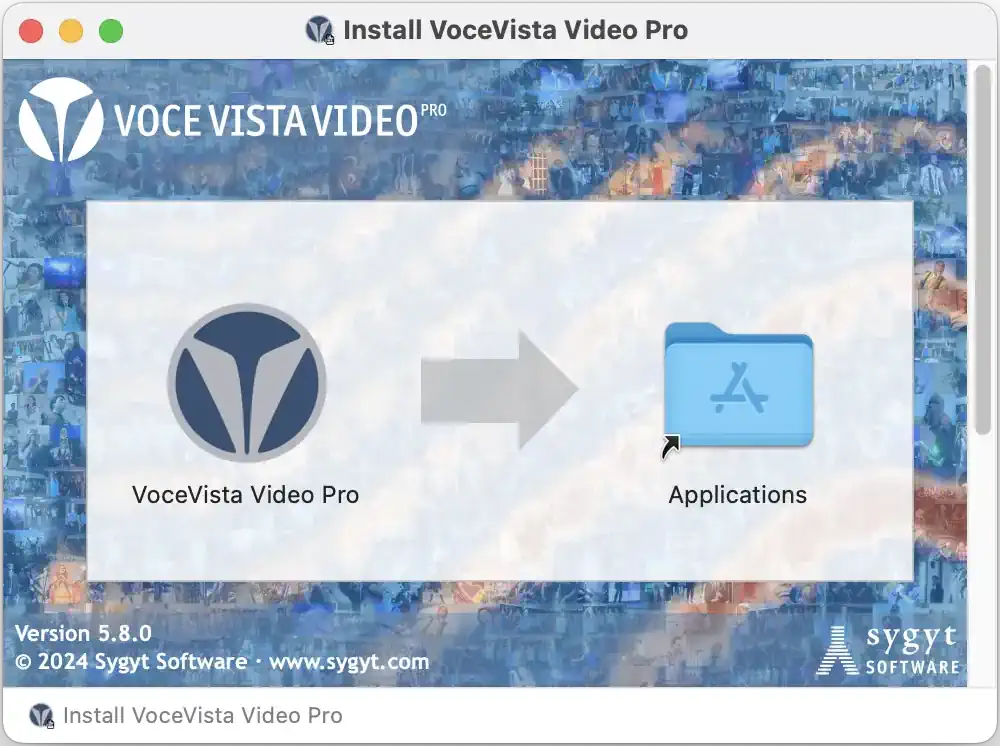
In here, drag the "VoceVista" icon onto the Applications folder.
Now open a Finder window. On the left side, click on the Applications folder and confirm that the VoceVista icon has been copied into that folder. Now, under "Locations", find the entry called "Install VoceVista" and click on the "eject" symbol next to it (marked with a red circle in the image below) to close the installer.
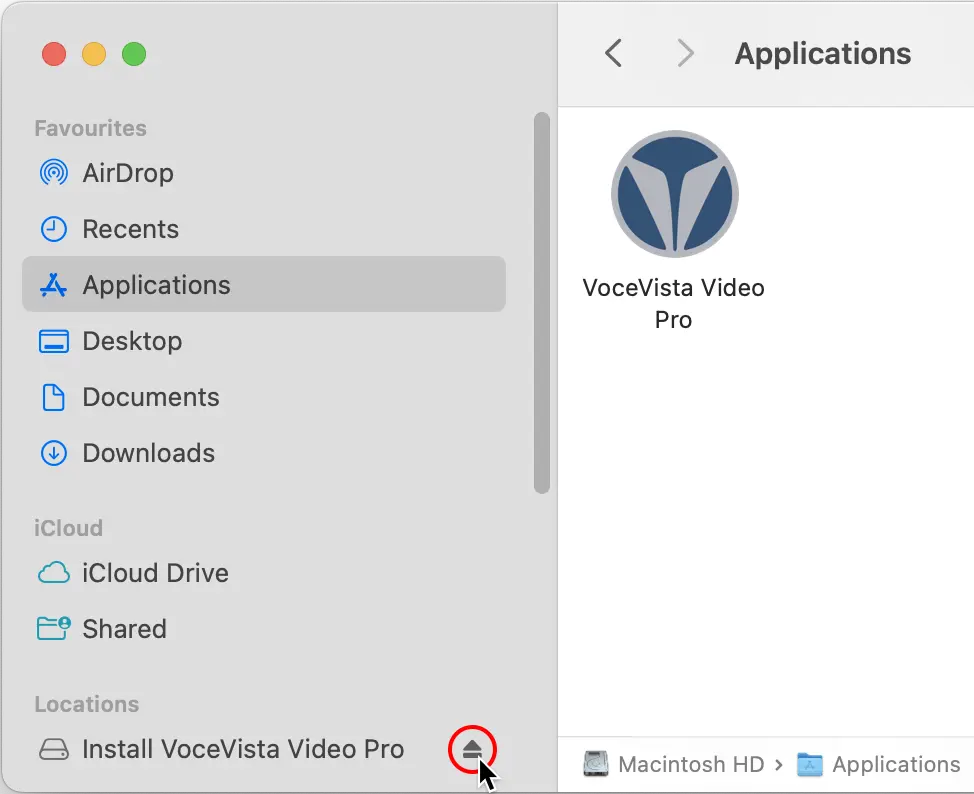
Now you can start VoceVista by clicking on its icon in the Applications folder or the Launchpad.